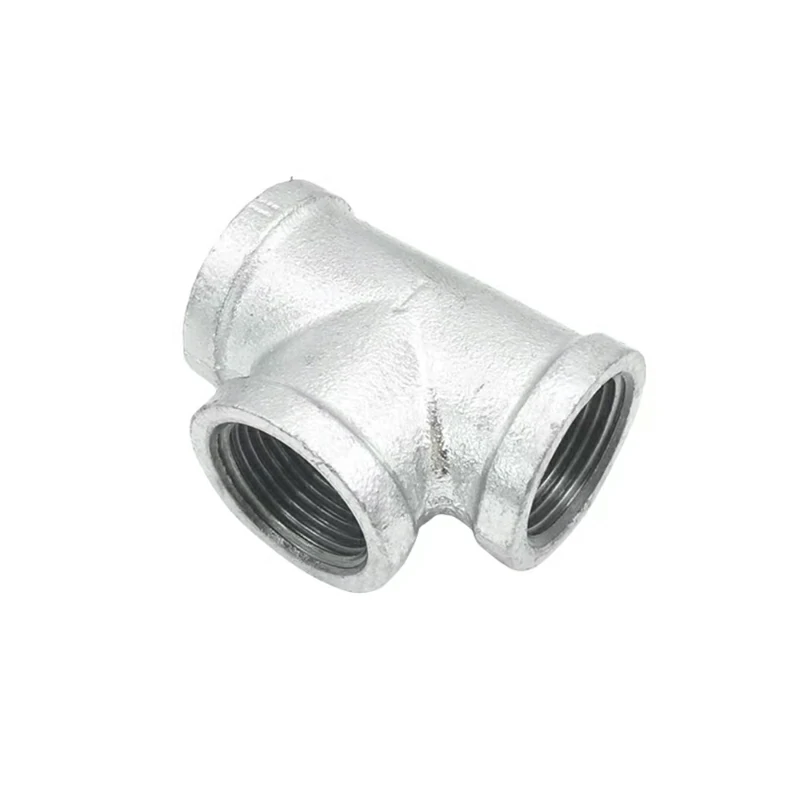
Choosing and installing galvanized malleable iron fittings correctly is crucial for ensuring optimal functionality and performance in plumbing systems. Here is a step-by-step guide to help you through the process:
Step 1: Assess the Plumbing System Requirements
Before selecting galvanized malleable iron fittings, assess the requirements of your plumbing system. Consider factors such as pipe size, pressure rating, temperature, and the type of fluid being conveyed. Ensure that the fittings you choose are compatible with the specific requirements of your system.
Step 2: Determine the Fitting Types and Sizes
Identify the types and sizes of fittings needed for your plumbing system. Common galvanized malleable iron fittings include elbows, tees, couplings, unions, bushings, and plugs. Measure the pipe diameter and identify the appropriate fitting sizes to ensure a proper fit.
Step 3: Check for Compliance with Standards
Verify that the galvanized malleable iron fittings meet industry standards and codes. Look for certifications or markings indicating compliance with relevant standards, such as ASTM, ANSI, or ASME. Compliance ensures that the fittings are manufactured to meet quality and safety requirements.
Step 4: Consider Corrosion Resistance
Galvanized malleable iron fittings are coated with a layer of zinc to provide corrosion resistance. Check the quality and thickness of the galvanized coating on the fittings. Ensure that it is sufficient for the intended application and the environmental conditions in which the fittings will be installed.
Step 5: Gather the Necessary Tools and Materials
Collect the tools and materials required for the installation process. This may include pipe wrenches, Teflon tape or pipe thread sealant, a pipe cutter or hacksaw, a reamer or file for deburring, and a pipe threader if needed.

Step 6: Prepare the Pipes
Ensure that the pipes are clean, properly cut, and deburred. Remove any burrs or rough edges using a reamer or file. Clean the pipe ends to remove dirt, debris, and rust, which can affect the sealing and fitting connection.
Step 7: Apply Thread Sealant
Apply a suitable thread sealant, such as Teflon tape or pipe thread sealant, to the male threads of the pipe fittings. This helps create a tight and leak-free connection. Follow the manufacturer’s instructions for applying the sealant.
Step 8: Assemble the Fittings
Carefully thread the galvanized malleable iron fittings onto the pipe ends. Use pipe wrenches to tighten the fittings securely. Ensure that the fittings are aligned correctly according to the plumbing system layout and pipe orientation.
Step 9: Avoid Over-Tightening
Avoid over-tightening the fittings, as this can damage the threads or distort the fittings. Tighten the fittings firmly but not excessively. Use the appropriate amount of force to ensure a secure connection without risking damage.
Step 10: Test for Leaks
Once the fittings are installed, test the system for leaks. Turn on the water supply and inspect all connections for any signs of water leakage. If any leaks are detected, make the necessary adjustments or reapply the thread sealant to achieve a proper seal.
Step 11: Follow Safety Guidelines
During the installation process, follow all safety guidelines and use appropriate personal protective equipment (PPE) to prevent injuries. This may include safety glasses, gloves, and protective clothing.
By following these steps, you can choose and install galvanized malleable iron fittings properly, ensuring optimal functionality and performance in your plumbing system. If you are uncertain or unfamiliar with the installation process, it is recommended to consult with a professional plumber for assistance.